Guide · Event & org design
Event Branding Kit Checklist: Every Piece an Expo Needs, With Sizes and a Timeline
 By Kashif RehmanPublished 17 September 2026Updated 17 September 20269 min read
Short answer
An event branding kit is the set of matching pieces an expo needs: a logo lockup, stage backdrop, sponsors wall, standees, welcome wall, outdoor holdings, badges, social posts and a stage screen slide. Design the logo first, lock sponsor logos a week out, and send print files to the press at least five days before event day.
When student organisers or a small organisation ask me for "a banner for the event", what they usually need is eight or nine pieces that look like they belong together. The banner is the easy part. The hard part is getting every piece designed in the right order, at the right size, and printed before the hall opens.
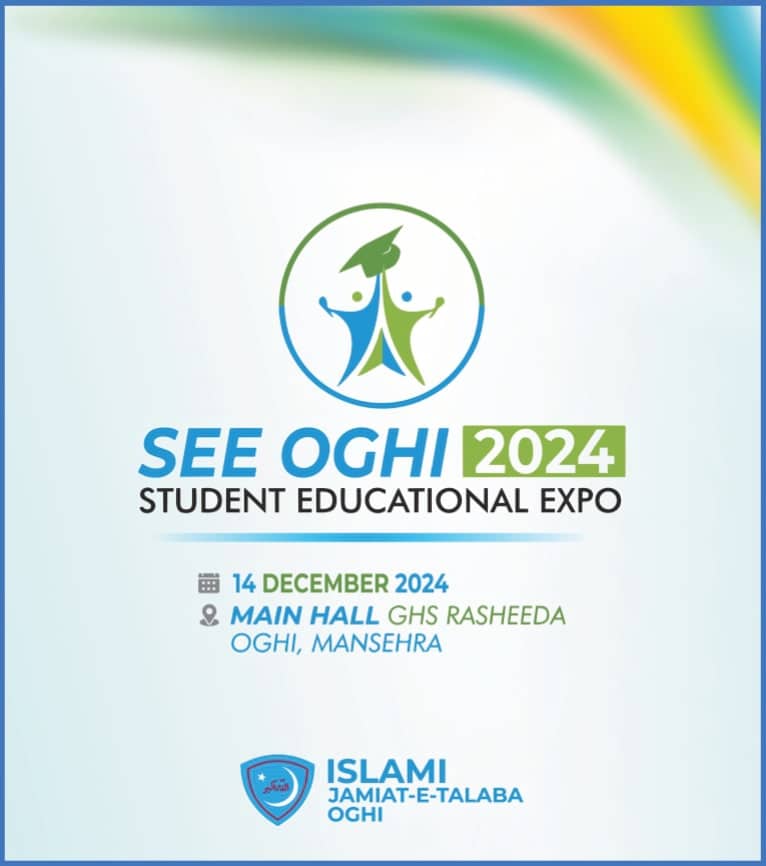
This checklist is how the studio plans an event kit. I use SEE Oghi 2024, the Student Educational Expo held on 14 December 2024 at the Main Hall, GHS Rasheeda, Oghi, as the running example, because it covered almost every item on the list.
What goes into a complete event branding kit?
Here is the full list. Not every event needs all of it, but it is better to cross items off on purpose than to discover on the morning of the event that nobody made a welcome sign.
Checklist
Event branding kit
- Logo lockup (full colour, one colour, and a version for dark backgrounds)
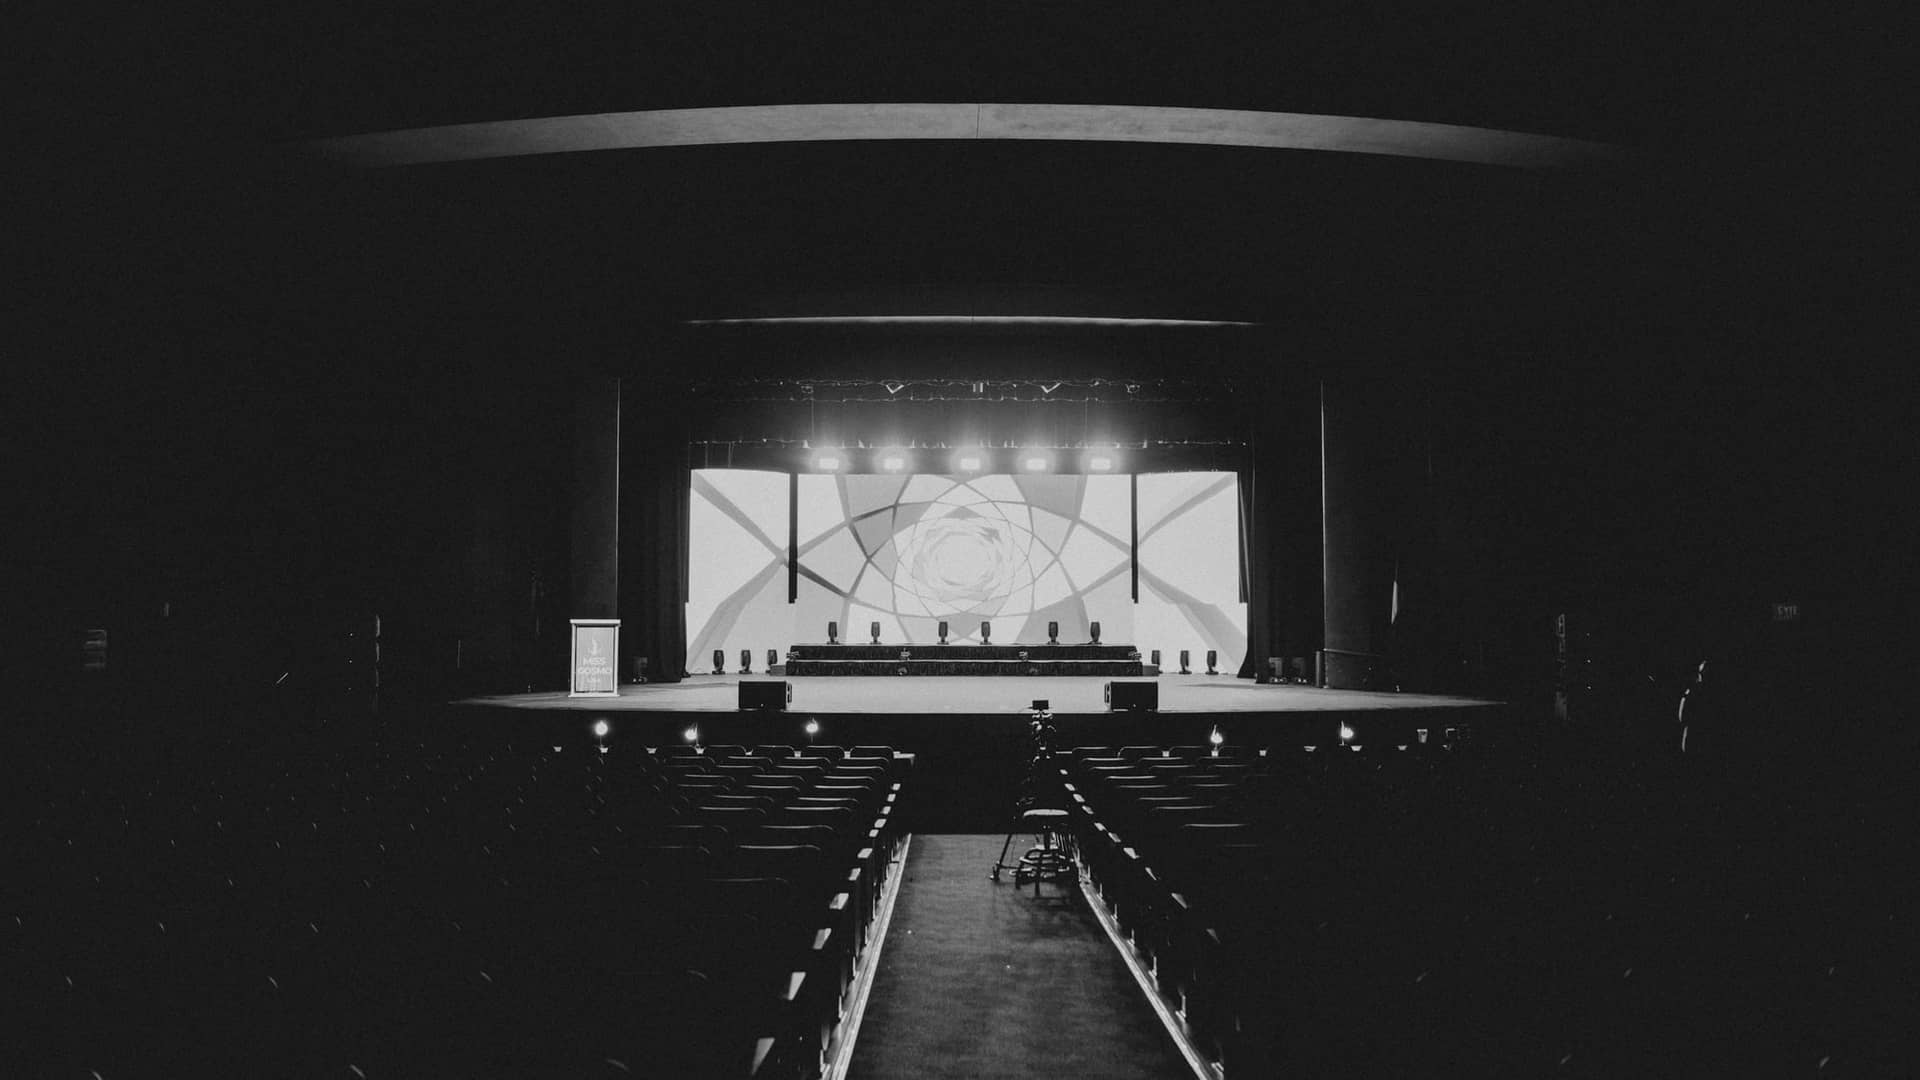
- Stage backdrop
- Sponsors wall or "Our Proud Sponsors" banner
- Standees for competitions, stalls or directions
- Welcome wall or entrance banner
- Holdings and streamers for outside the venue
- Badges or ID cards for volunteers, judges and guests
- Social media posts: announcement, countdown, day-of, thank you
- Stage screen or LED slide (if the hall has a projector or screen)
- Certificates and shields text layout (often forgotten until the last night)
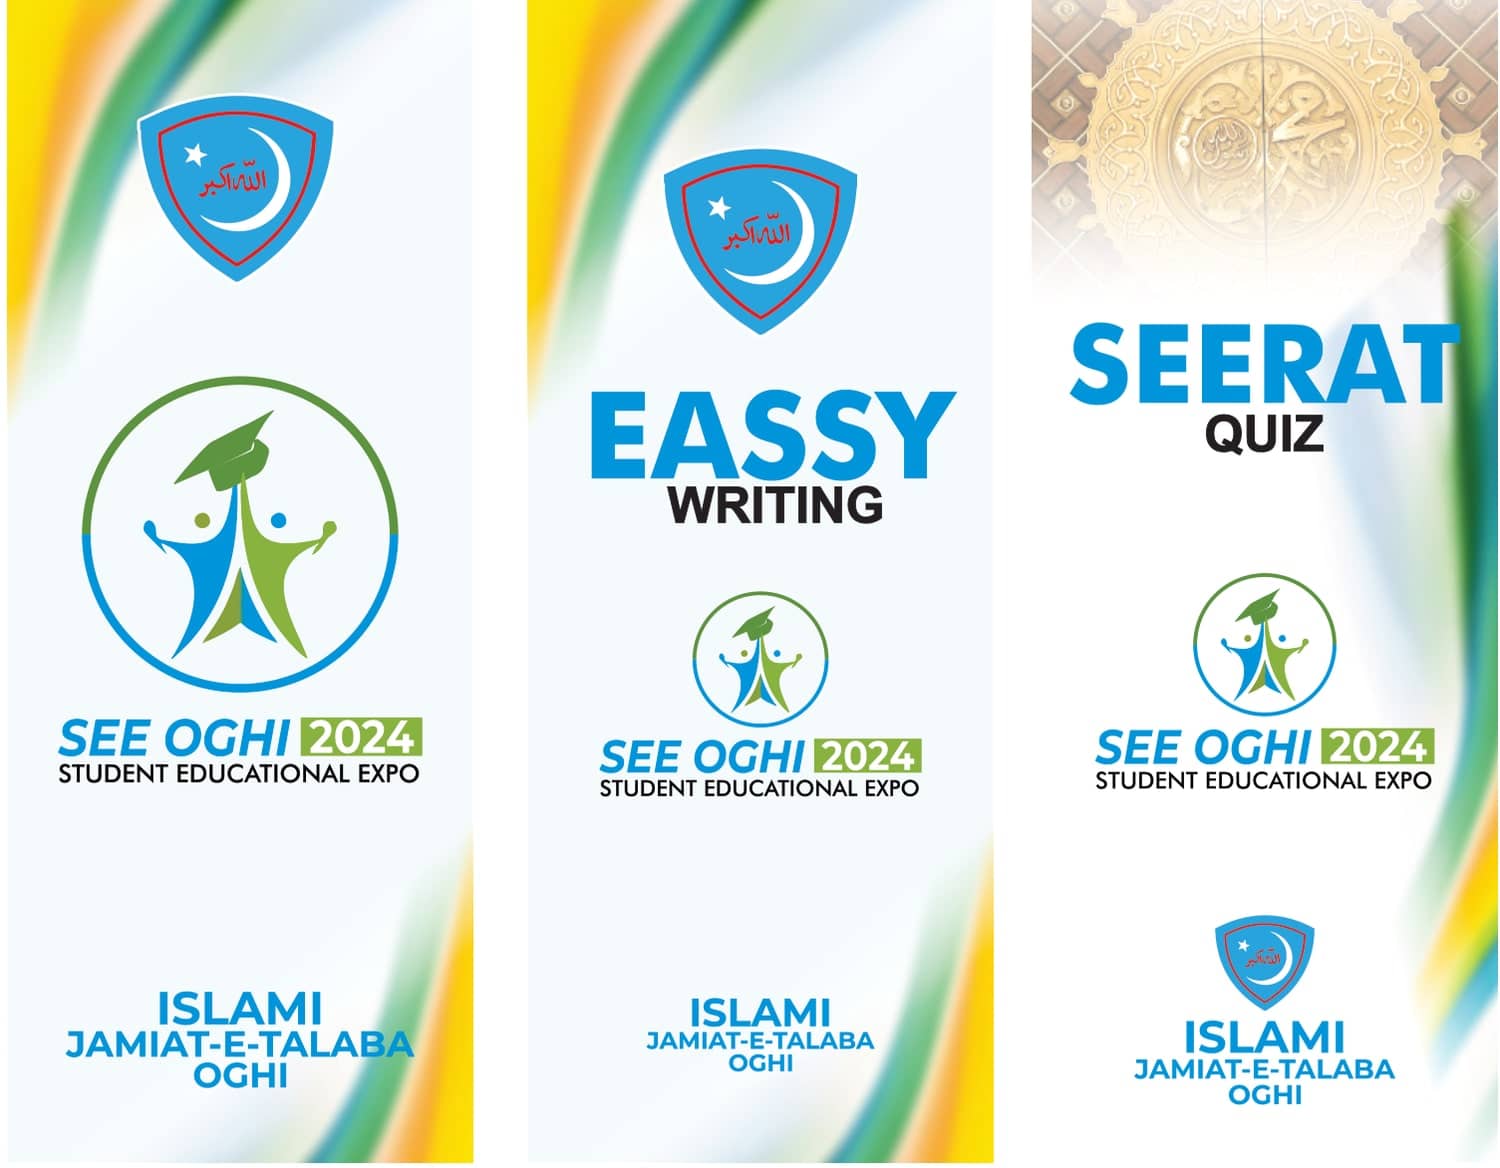
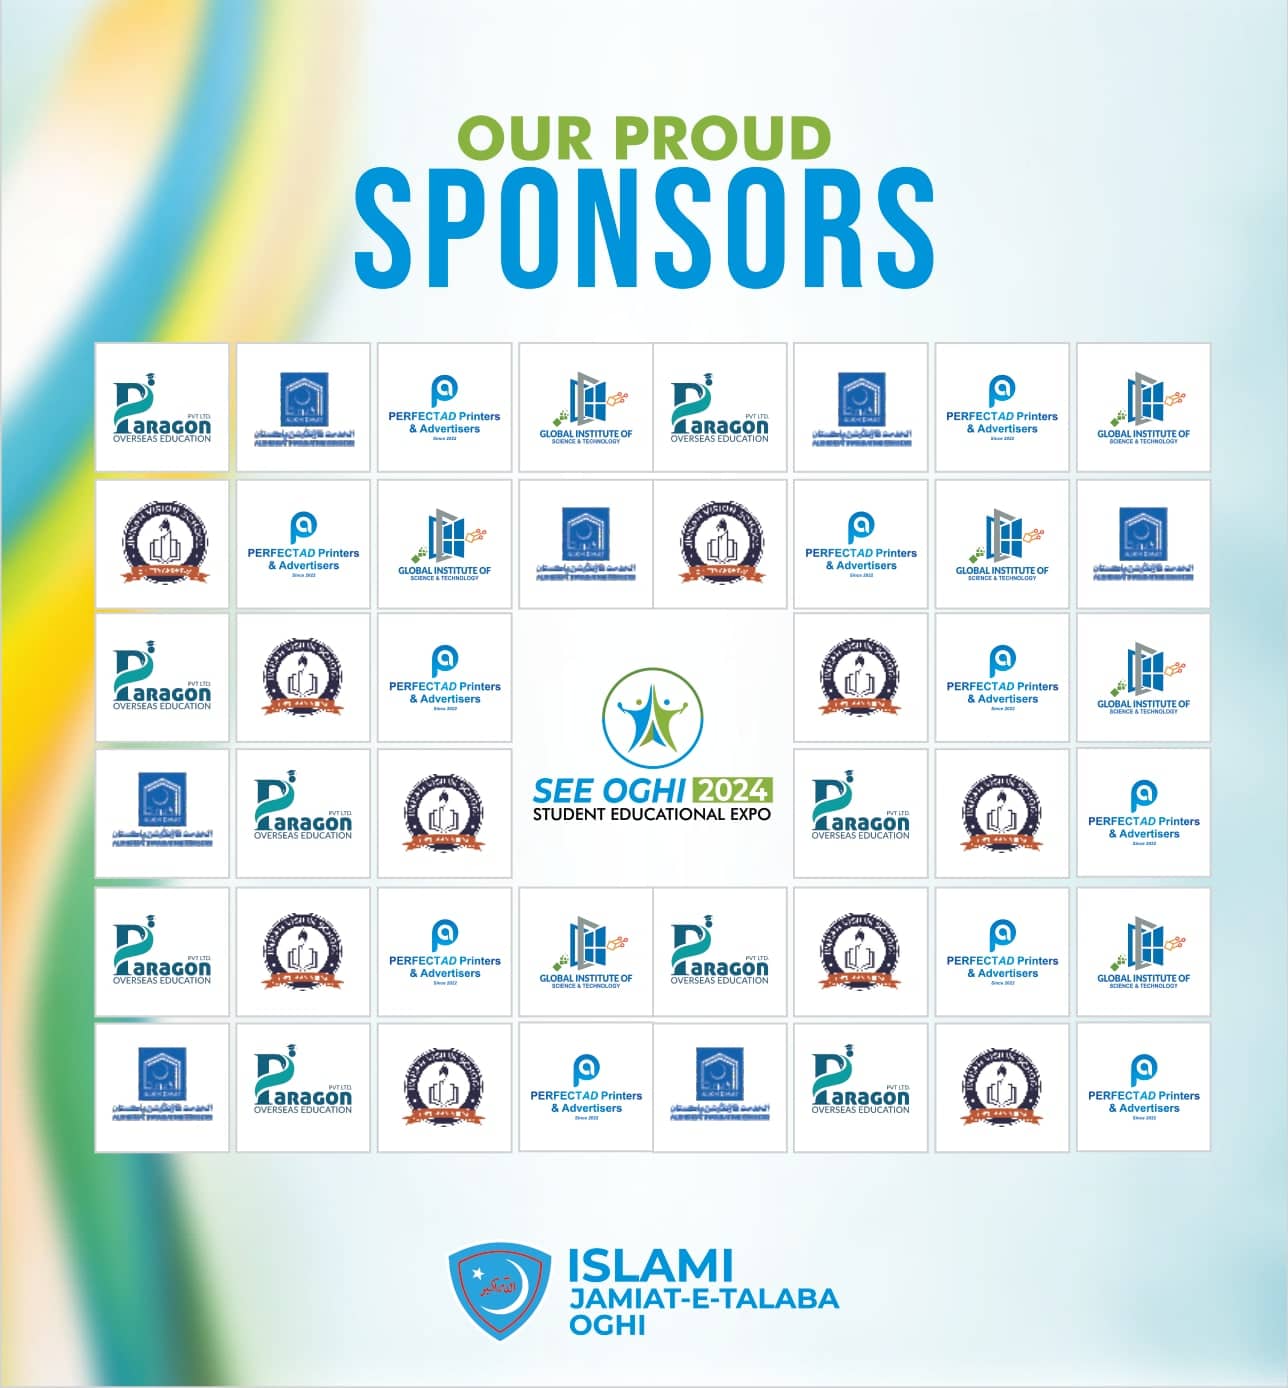
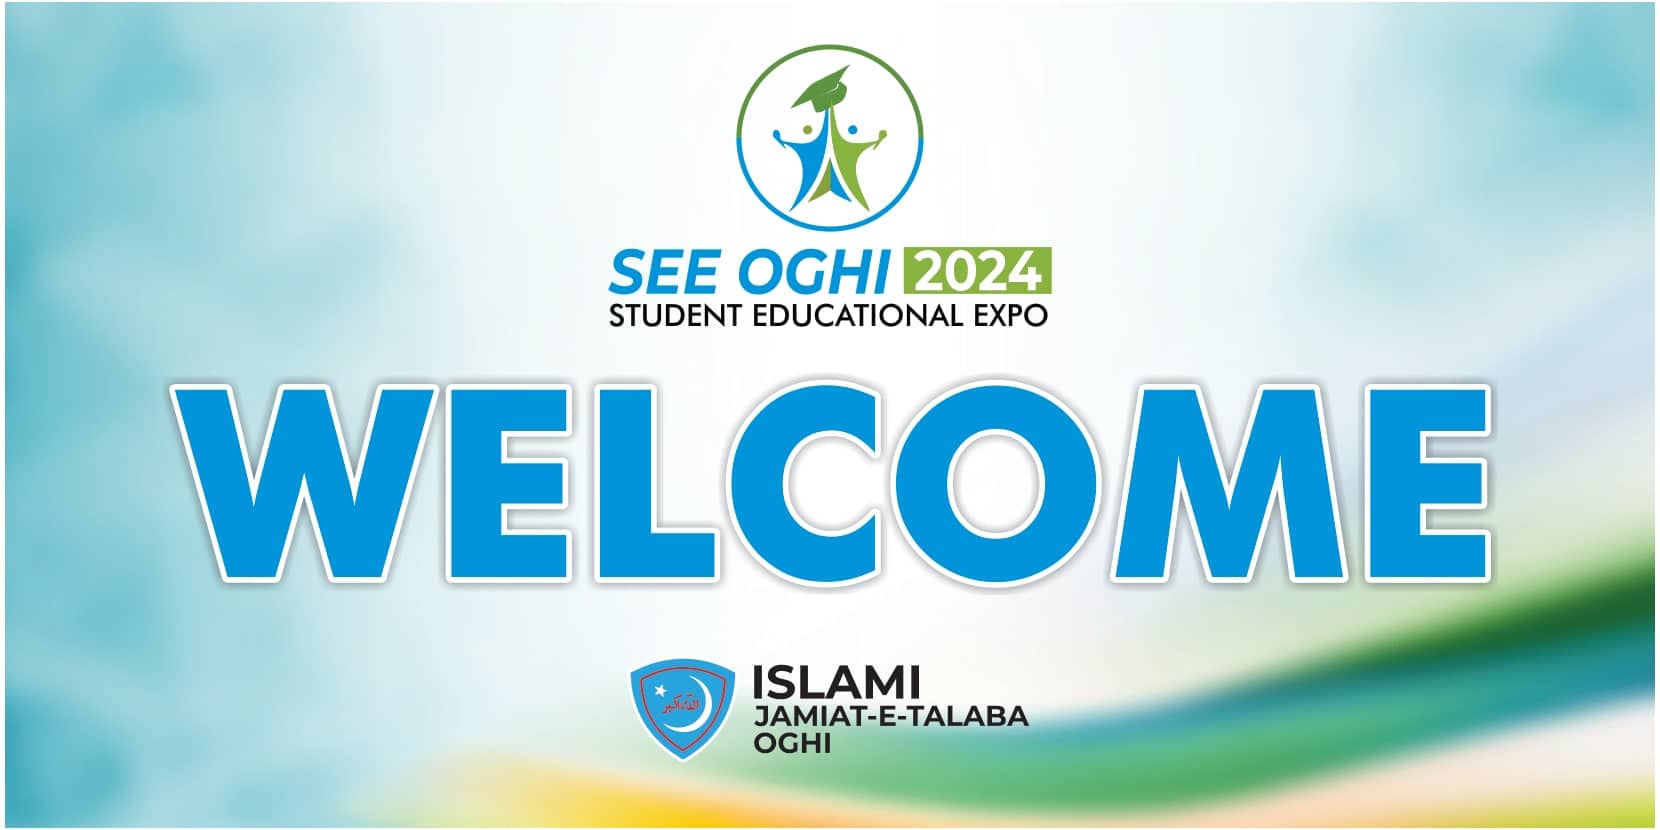
For SEE Oghi 2024, the studio designed the expo logo, the stage backdrop, the "Our Proud Sponsors" banner wall, standees for the Essay Writing and Seerat Quiz competitions, a welcome wall, event holdings and the main social post. The organisers were Islami Jamiat-e-Talaba Oghi, a student team, which shaped a lot of decisions about budget and timing.
Why should the logo come first?
Every other piece borrows from the logo: its colours, its shapes and the way the name is set. If the logo changes after the backdrop is designed, the backdrop has to be redone, and so does everything after it.

For SEE Oghi the logo used a blue, green and black palette. Once that was approved, I had the colour rules for the whole kit without needing a separate brand guide. For an event, that is usually enough. Write down the CMYK values for each colour and the fonts used, and share them with anyone else touching the files.
Ask for three logo versions at the start. The full-colour version goes on the backdrop and posts. A one-colour version is useful for badges, certificates and anything photocopied. A reversed version (light on dark) saves you when a standee or screen slide has a dark background.
What sizes and print media are common for each piece?
Sizes depend on the venue, so measure before you design. The table below lists sizes I see often in school halls, marriage halls and community venues in Hazara and nearby cities. Treat them as starting points, and confirm with the printer and whoever is setting up the stage.
Common event piece sizes and media
| Piece | Common sizes | Usual media | Notes |
|---|---|---|---|
| Stage backdrop | 8 × 12 ft, 10 × 16 ft, 10 × 20 ft | Star flex or china flex on a frame | Keep key text in the upper two thirds |
| Sponsors wall | 6 × 10 ft, 8 × 12 ft | Panaflex | Leave space for late sponsors |
| Roll-up standee | about 2.75 × 6.5 ft (33 × 80 in) | Flex or PVC banner on a roll-up stand | Check the stand's exact print size |
| X-standee | about 2 × 5 ft | Flex on an X-frame | Cheaper, less stable outdoors |
| Welcome wall | 8 × 10 ft and up | Panaflex on a frame or truss | Photographed a lot, design for selfies |
| Holdings / streamers | 3 × 10 ft, 3 × 20 ft | Panaflex with eyelets or pole pockets | Few words, large type |
| Badges | about 3.5 × 5.5 in, or CR80 card 54 × 86 mm | Card with lamination, or PVC | Names need to read at arm's length |
| Instagram / Facebook post | 1080 × 1350 px (4:5) or 1080 × 1080 px | RGB image | Export separate story at 1080 × 1920 px |
| Stage screen slide | 1920 × 1080 px (16:9) | RGB image or PDF | Ask the venue for the screen ratio |
A roll-up stand usually comes with its own print size, and it varies by supplier by a couple of inches. Ask the printer which stand they are supplying before you set up the artboard, and keep text away from the bottom few inches that disappear into the base.
A note on budget
Panaflex is priced by the square foot, so the backdrop and welcome wall will take most of the printing money. Local shops in Islamabad, Rawalpindi and Abbottabad commonly quote somewhere around Rs 25–60 per sq ft for printed panaflex in 2026, depending on the flex quality and quantity. Frames, installation and transport are extra. Get a written quote from the printer before you commit to sizes, because a 10 × 20 ft backdrop is 200 square feet on its own.
In what order should I design the pieces?
I design in order of dependency. Pieces that other pieces copy from come first, and pieces waiting on outside information come last.
- Logo lockup and colours. Nothing else starts until this is approved.
- Main announcement post. It is the first public piece, and it tests the look at small size. If the name does not read on a phone, it will not read on a holding either.
- Stage backdrop. The biggest piece, and the one in every photo. The layout here becomes the template for the welcome wall.
- Welcome wall and holdings. Adapted from the backdrop, with fewer words.
- Standees. One master layout, then duplicated for each competition or stall.
- Badges and certificates. These need the final list of names and roles, which organisers rarely have early.
- Sponsors wall. Last, because sponsors keep arriving until the final week.
- Day-of and thank-you posts, stage screen slides. Quick to make once everything else exists.
Handling sponsor logos
Sponsor logos are the most common reason an event kit is late. Local businesses often send a logo as a WhatsApp photo of their shop board or a blurry screenshot. Ask every sponsor for a vector file (AI, CDR, EPS, SVG or PDF) the day they confirm. If they do not have one, budget time for redrawing it, and tell the organisers that each redraw takes a slot in the schedule.
Design the sponsors wall with a grid that can take two or three more logos than you currently have. Leaving room is easier than redesigning the whole wall when a new sponsor calls the night before files go to press.
What does a timeline working back from event day look like?
This is the schedule I suggest for a small or mid-sized expo. "D" is event day. It assumes the organisers answer messages within a day, which is the real variable.
| When | What should be done |
|---|---|
| D-21 | Brief shared: event name, date, venue, organisers, list of pieces, stage and venue measurements |
| D-18 | Logo lockup and colours approved |
| D-15 | Main announcement post live on social media |
| D-12 | Backdrop, welcome wall and holdings designs approved |
| D-10 | Standee layouts approved, competition names final |
| D-8 | All sponsor logos received as vector files |
| D-7 | Badge names and certificate text final |
| D-6 | Sponsors wall approved; all print files sent to the press |
| D-3 | Printed pieces collected and checked against the files |
| D-1 | Installation at the venue, stage screen slides tested on the actual screen |
| D-0 | Day-of posts; photos collected for the thank-you post |
The gap between sending files (D-6) and collection (D-3) is not generous. Press shops get busy in December and around the wedding season, and a machine breakdown can cost a day or two. If the event is large or outdoor, move file delivery to D-8 or earlier.
How do I keep the pieces consistent without making them identical?
Consistency comes from a small set of repeated decisions, applied to every piece:
- the same colour values, written down as CMYK for print and hex for screens
- one or two fonts, with the same font used for the event name everywhere
- the logo in the same position relative to the title on large pieces
- one graphic device repeated across the kit
For SEE Oghi, the graphic device was a green and blue wave taken from the logo's palette. Repeating it across the printed pieces and the social post gave the kit a clear family look. Once a device like that exists, each new piece is mostly a question of layout.
The pieces should still change with their job. A holding outside on the road needs the event name, date and venue, readable from a moving car. The backdrop needs the event name and organisers, sized for photos. A standee next to a competition table needs the competition name first. Same kit, different priorities.
What should I check before sending event files to the press?
Event pieces have their own mistakes on top of the usual print file problems. Before files go out, go through this list with one person from the organising committee who has the authority to approve.
Checklist
Before the event files go to print
- Event date, day and venue spelled the same way on every piece
- Organiser name and any institution names checked by the committee
- Urdu text checked by someone who reads it well, with fonts converted to curves
- Sponsor names and logos match the final approved list
- Each file is at the exact size the printer confirmed, including frame or stand allowance
- Colours set in CMYK with values matching the colour sheet
- Phone numbers and social handles tested
- File names include piece name and size, e.g. backdrop-10x20ft.pdf
- Social posts exported separately in RGB at the right pixel sizes
The file-level details, such as bleed, resolution for large flex and whether to send CDR or PDF, are covered in the studio's print-ready file checklist. For the big panaflex pieces specifically, the panaflex design guide goes into viewing distance and type size.
What would I tell organisers before they start?
Send the venue measurements with the brief. Most redesigns in event work come from a backdrop designed for a stage that turns out to be a different shape. A photo of the empty stage with a measuring tape visible is worth more than a long message.
Pick one person to approve designs. Student committees in particular tend to forward files to a group, and each member suggests a different change. One approver with the final word keeps the timeline intact.
Keep the social post in mind while designing the printed kit. Most people who hear about the event will first see it on a phone, so the look needs to work at 1080 pixels wide before it works at 20 feet.
FAQ
Questions people ask.
What is the minimum branding an event needs?
If money is tight, start with a logo lockup, one stage backdrop, one announcement post for social media and a welcome banner at the gate. Those four cover the photos people will share and the first impression at the door. Standees, sponsor walls and badges can be added once the budget and sponsor list are clear.
How early should I contact a designer for an expo?
Three weeks before the event is comfortable for a small or mid-sized expo, and four is better if sponsors are involved. The design itself rarely takes that long. The time goes into waiting for sponsor logos, final names of guests, approvals from the organising committee and a printer who is not already booked for wedding season.
What size should a stage backdrop be?
Measure the stage first. For school halls and community venues, backdrops around 8 by 12 feet or 10 by 16 feet are common, and larger halls often go to 10 by 20 feet. Keep the logo and event title in the upper two thirds so speakers and the podium do not cover them in photos.
Can I use the same file for the backdrop and the Instagram post?
You can reuse the artwork, but not the file. A backdrop is a wide panaflex print set up in CMYK at low resolution for its size, while a post is a small RGB image cropped to 4:5 or 1:1. Build a master design, then adapt it separately for each format so text stays readable in both.
From reading to doing
Want Kashif to handle this for you?